
Introduction
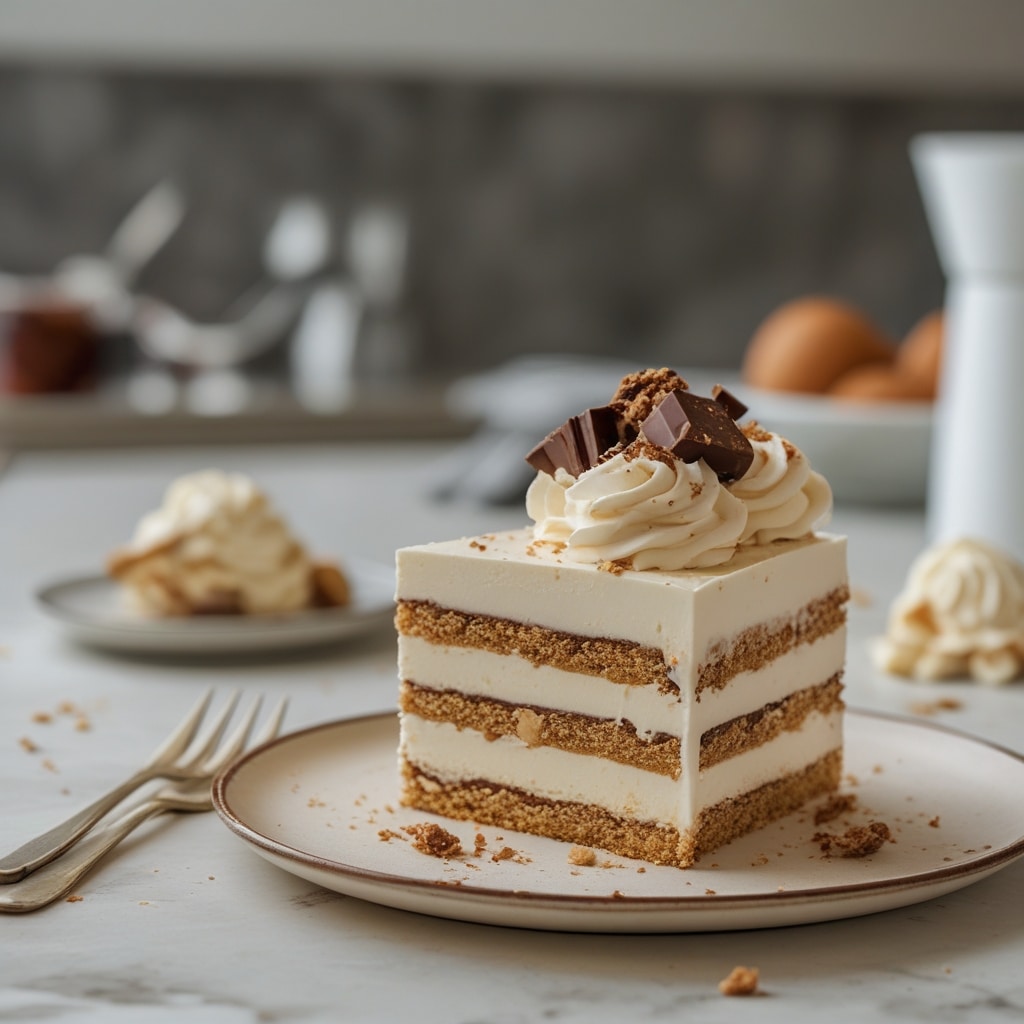
There’s something undeniably nostalgic about layered ice cream desserts that blend creamy textures, crunchy toppings, and rich chocolate flavors. The Buster Bar Ice Cream Cake is one of those timeless frozen treats that deliver pure joy in every bite. This crowd-pleasing dessert combines velvety ice cream, salty peanuts, and luscious fudge into a cake that’s perfect for birthdays, summer celebrations, or simply to beat the heat. In this guide, we’ll explore how to make this iconic dessert from scratch, discover why it’s such a hit, and reveal simple tricks to perfect its flavor and presentation. Whether you’re a seasoned baker or a beginner in the kitchen, this recipe will make you fall in love with homemade ice cream cakes all over again.
—
Step-by-Step Instructions
Creating a Buster Bar Ice Cream Cake at home might look complicated at first glance, but it’s incredibly approachable once you break down the process. The key is in assembling each layer carefully to achieve the dessert’s signature texture and balance of flavors.
1. Prepare the Base
Start with a crunchy base that sets the foundation for the layers above. You can use crushed chocolate wafer cookies or sandwich cookies mixed with melted butter. Press this mixture evenly into the bottom of a 9×13-inch pan. Place the pan in the freezer for 15–20 minutes to allow the crust to firm up properly.
2. Add the Ice Cream Layer
Take your favorite vanilla ice cream (or a flavor twist such as chocolate or coffee) and let it soften slightly at room temperature until spreadable. Smooth a thick layer over the chilled crust, using a spatula to level it out. Return the pan to the freezer for at least 30 minutes to ensure the ice cream hardens before the next step.
3. Prepare the Chocolate Fudge Sauce
While the ice cream sets, prepare a rich, silky fudge sauce. Combine butter, chocolate chips, sugar, and evaporated milk in a saucepan over medium heat. Stir continuously until the sauce thickens to a glossy consistency. Let it cool before spreading it over the ice cream layer to prevent melting.
4. Add Peanuts and Chocolate Drizzle
Sprinkle a generous layer of salted peanuts evenly across the fudge. The salt enhances the sweetness while creating that distinct crunch. Drizzle more chocolate over the top for a decadent finish. Freeze the cake again for at least 2 hours, or overnight for a firmer texture that’s easy to slice.
5. Final Touches
Before serving, top the cake with whipped cream, chocolate shavings, or mini candy pieces for a playful touch. Dip a sharp knife in hot water before slicing to achieve clean, beautiful cuts.
—
Tips
Creating the perfect ice cream cake goes beyond just following the steps — it’s about refining your technique and customizing it to your taste. Here are several expert tips to guide you:
Use High-Quality Ingredients
The flavor of your dessert is only as good as your ingredients. Opt for premium ice cream and real butter chocolate fudge sauce to make the flavors richer and more satisfying.
Temperature Control is Key
Don’t rush the freezing process. Each layer should be fully set before adding the next to prevent melting and uneven textures. Keeping your ingredients cold is the secret to those distinct, clean layers.
Customize Your Layers
To give your dessert a unique spin, try adding a middle layer of caramel or peanut butter fudge. This small touch transforms the cake from classic to creative.
Serve with Style
Presentation matters. Serve the cake on a chilled ceramic platter and garnish with crushed nuts or chocolate curls. This attention to detail helps create a gourmet-level experience at home.
—
Alternative Methods
Not everyone has access to the same ingredients or time to execute a multi-layer frozen dessert. Luckily, there are quick and flexible alternatives that deliver similar flavor satisfaction.
No-Bake Version
If you prefer an easier method, skip the fudge-making step and use bottled chocolate syrup for layering. This cuts prep time significantly and still tastes rich when paired with quality ice cream and peanuts.
Dairy-Free or Vegan Option
For a plant-based version, use dairy-free ice cream made from coconut or almond milk and substitute coconut oil for butter in the crust. Replace the fudge sauce with a vegan chocolate ganache made from dark chocolate and coconut milk.
Individual Servings
Instead of making a single large cake, try individual servings in small jars or muffin tins. This eliminates the need for slicing and makes serving easier at parties or events.
Flavor Twists
Experimenting with flavors keeps this dessert exciting. Coffee ice cream, caramel drizzle, or a biscotti crust can elevate the traditional taste. Every variation still maintains the spirit of the original dessert while adding your personal flair.
—
Conclusion
Desserts that evoke nostalgia often become the ones we pass down through generations. The Buster Bar Ice Cream Cake embodies that legacy beautifully — combining simplicity, texture, and comfort into one irresistible treat. Whether you follow the traditional method or customize it with modern twists, the joy of slicing through creamy, chocolaty layers remains the same. Its make-ahead convenience, crowd-pleasing flavors, and aesthetic appeal make it a top-tier dessert for any gathering.
With this guide, you now have everything you need to master this frozen classic — from precise layering techniques to insider tips on presentation. Whatever variation you choose, one thing is certain: this dessert will continue to delight your family and guests for years to come.