
Introduction
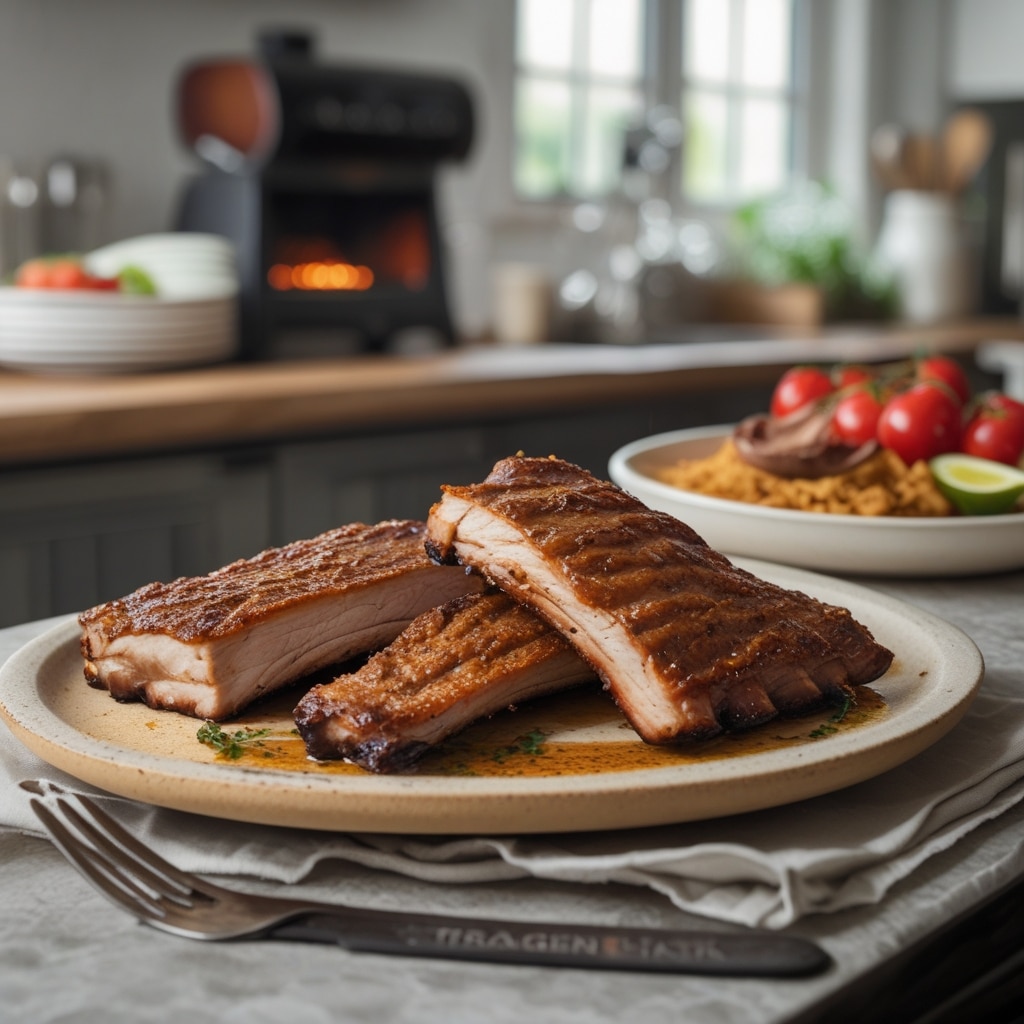
If you’re craving tender, smoky perfection that falls right off the bone, look no further than the Best Traeger Smoked St Louis Ribs Recipe . This mouthwatering dish brings together the deep, wood-fired flavor of your Traeger grill with the rich, juicy texture of perfectly smoked St. Louis-style ribs. Whether you’re hosting a weekend barbecue, celebrating game day, or simply want to master backyard smoking, this detailed, data-backed guide will walk you through every step to guarantee success.
This recipe is all about balance—low heat, slow cooking, and the right blend of dry rubs and sauces to achieve that melt-in-your-mouth quality. Plus, with insights from BBQ pitmasters, temperature control recommendations, and pro-level techniques, you’ll be equipped to recreate a restaurant-level rib experience at home.
—
Step-by-Step Instructions
The Best Traeger Smoked St Louis Ribs Recipe relies on precision, patience, and the right sequence of temperature adjustments. Here’s how to do it right from start to finish.
Step 1: Prepare and Trim Your Ribs
Start by selecting high-quality St. Louis-style ribs. These are meaty slabs from the belly side of the pig, known for their perfect fat-to-meat ratio. Remove the silverskin membrane from the back of the ribs to allow flavors to penetrate fully. Trim off excess fat, but leave some for moisture retention during smoking.
Step 2: Season Generously with a Dry Rub
The rub forms the flavor foundation. Mix a balanced combination of brown sugar, smoked paprika, black pepper, kosher salt, garlic powder, and a touch of cayenne. For analytics fans—brown sugar caramelizes beautifully between 225°F to 250°F, building that crusty bark you want. Massage the spice rub thoroughly on both sides of the ribs, making sure each ridge of meat gets coated evenly. Let them rest in the refrigerator for 30–60 minutes to absorb the flavor.
Step 3: Preheat Your Traeger Grill
Set your Traeger to 225°F. Hickory, apple, or cherry pellets are prime choices for an authentic smoky aroma. The low-and-slow method enhances collagen breakdown, ensuring tender results. Allow the grill to preheat for about 15 minutes before placing the ribs inside.
Step 4: The Smoking Process (3-2-1 Method)
The proven “3-2-1” method guarantees perfectly smoked ribs every time.
– Smoke (3 hours): Place the ribs bone-side down on the Traeger, close the lid, and smoke untouched for three hours. This stage infuses deep flavor and begins to dry out the outer layer, which helps form that crave-worthy bark.
– Wrap (2 hours): Remove the ribs, wrap them tightly in aluminum foil or butcher paper, and add a small splash of apple juice or cider vinegar inside. This helps trap steam and soften the rib meat. Place the wrapped ribs back on the grill for 2 hours.
– Sauce (1 hour): Carefully unwrap the ribs, baste with your favorite BBQ sauce, and return them to the grill for one last hour to set the glaze. For those who prefer a lighter finish, brush sauce during the final 30 minutes instead of the entire hour.
By the end of this process, you’ll note that the internal temperature reaches about 195°F to 203°F—perfect tenderness without falling apart.
—
Tips
1. Maintain Consistent Temperature
Temperature fluctuations can ruin the bark and dry out the meat. Keep your grill steady between 225°F and 250°F. According to pitmaster data, even a 10-degree fluctuation can alter moisture retention by up to 5%.
2. Don’t Oversauce Too Early
Sugar-based sauces tend to burn at high temperatures. Always apply sauce during the final stage to ensure a clean caramelized glaze rather than charred areas.
3. Use a Spray Bottle for Moisture
Every 45–60 minutes, lightly spritz the ribs with apple cider vinegar or a 50/50 mix of vinegar and apple juice. This helps maintain moisture levels and enhances smoke adhesion.
4. Let the Meat Rest
After removing from the grill, let your ribs rest for at least 10–15 minutes under loose foil. This allows the juices to redistribute evenly, locking in flavor and ensuring every bite is succulent.
5. Track Data for Consistency
Treat every smoke like a mini experiment. Record pellet type, temperature, and timing. Data tracking ensures you’ll replicate your results exactly next time, fine-tuning your BBQ precision.
—
Alternative Methods
1. Pellet Grill Variations
If you don’t have a Traeger, any reliable pellet grill works for this recipe. Brands like Pit Boss or Camp Chef offer similar results. Just monitor internal temps with a digital probe.
2. Charcoal or Offset Smoker
For an old-school approach, you can adapt the method to an offset smoker. Control airflow and maintain indirect heat by placing coals on one side, leaving the ribs on the other. Add wood chunks for flavor bursts every hour.
3. Oven-Adapted Technique
No smoker? No problem. You can execute a modified technique in your oven. Bake at 250°F following the 3-2-1 framework. Add liquid smoke to your foil wrap and finish under the broiler to mimic that charred glaze.
4. Gas Grill Setup
Use a smoker box with wood chips and indirect heat zones. Keep one side on low flame and place the ribs on the unlit side, maintaining a consistent 225°F. This alternative works well for quick family BBQs when time or equipment is limited.
—
Conclusion
Perfecting your BBQ craft doesn’t have to be overwhelming—especially when you have the Best Traeger Smoked St Louis Ribs Recipe by your side. With careful temperature control, an expertly balanced rub, and the tried-and-true 3-2-1 method, you can confidently turn out smoked ribs that rival any competition pitmaster’s.
Beyond flavor, this recipe captures the spirit of backyard cooking—slow, deliberate, and full of anticipation. Each element, from pellet choice to rest time, contributes to that tender bite-through texture that defines championship-level ribs.
So, fire up your Traeger, grab a rack of St. Louis ribs, and put your new smoking skills to the test. With just a bit of patience, data-driven adjustments, and love for great food, your next BBQ feast will be the talk of the neighborhood—and proof that great cooking starts with precision, passion, and a well-tested technique.