
Introduction
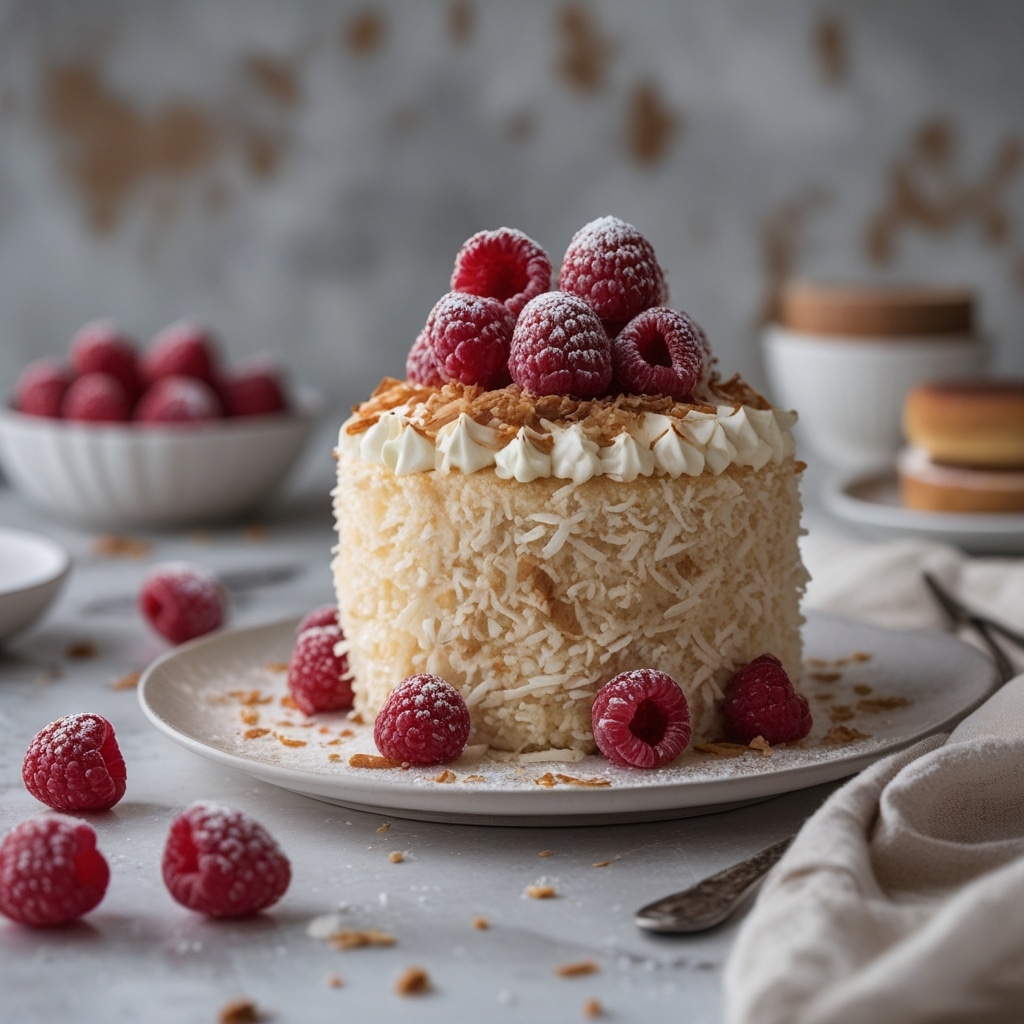
There’s something timeless and heartwarming about a cake that brings together tropical sweetness and fruity delight, and the Raspberry Surprise Coconut Snowball Cake does exactly that. This layered dessert merges the freshness of raspberries with the creamy essence of coconut, creating a treat that feels like a snowy island dream in every bite. Beyond its taste, it’s also a showstopper at any gathering—perfect for birthdays, holiday celebrations, or cozy weekends when you want to impress without overwhelming your kitchen schedule.
In today’s post, we’ll dive deep into how to make this beautiful cake from scratch, explore time-saving tips for busy bakers, and even suggest some creative twists you can try at home. Whether you’re a seasoned home baker or just starting your culinary adventure, this recipe will help you bake with confidence and create a dessert as visually striking as it is delicious.
—
Step-by-Step Instructions
Making this delightful Raspberry Surprise Coconut Snowball Cake may sound like a challenge, but with the right ingredients, tools, and technique, you’ll find it surprisingly simple. Each layer contributes its own balance of flavor and texture to deliver the perfect slice. Follow these steps carefully for a foolproof result.
Step 1: Prepare the Ingredients
For the cake base, measure:
– 2 ½ cups of all-purpose flour
– 2 teaspoons of baking powder
– ½ teaspoon of salt
– ¾ cup of unsalted butter (softened)
– 1 ½ cups granulated sugar
– 4 large eggs
– 1 cup coconut milk (for a rich tropical flavor)
– 1 tablespoon pure vanilla extract
For the raspberry filling:
– 1 ½ cups fresh raspberries
– ¼ cup sugar
– 1 tablespoon cornstarch dissolved in 1 tablespoon water
For the frosting and snowball effect:
– 3 cups shredded coconut (sweetened)
– 2 cups whipped cream cheese frosting or buttercream
– ½ cup heavy cream (for smoother texture)
Step 2: Make the Cake Layers
Preheat your oven to 350°F (175°C) and grease two 8-inch round baking pans. Cream the butter and sugar together until light and fluffy. Add the eggs one at a time, followed by vanilla extract. Gradually incorporate the flour mixture, alternating with coconut milk, until your batter is smooth and airy.
Divide the batter evenly into the pans and bake for 25–30 minutes, or until a toothpick inserted in the center comes out clean. Allow cakes to cool completely before assembling.
Step 3: Cook the Raspberry Filling
In a small saucepan over medium heat, combine raspberries and sugar. Stir until the fruit begins to break down. Add dissolved cornstarch and continue stirring until the mixture thickens into a jam-like consistency. Let it cool.
Step 4: Whip the Frosting
Whisk together your frosting base and heavy cream until you achieve a fluffy, snow-like texture. Gently fold in shredded coconut or reserve it for coating if you want a smoother interior layer.
Step 5: Assemble the Cake
Trim the tops of both cake layers for even surfaces. Place one layer on your cake board, create a shallow indentation in the middle, and spoon in your raspberry filling—the “surprise” center of your creation. Top with the second layer and coat the entire cake with a light crumb layer of frosting. Chill for 20 minutes.
Once set, spread the remaining frosting smoothly over the cake. Press shredded coconut all around, giving it that snowy, glistening effect.
—
Tips
Crafting picture-perfect coconut cakes can feel daunting, but these baking tips will help you achieve professional-level results right at home.
1. Use room-temperature ingredients: This helps the batter mix evenly, ensuring a tender texture.
2. Don’t overmix the dough: Overmixing creates dense cakes. Fold gently once wet and dry ingredients are combined.
3. Enhance flavor naturally: Adding a drop of coconut extract brings intensity without artificial undertones.
4. For extra fluffiness: Separate eggs and fold whipped egg whites into the batter at the end.
5. Decorate with intention: Garnish with fresh raspberries and mint leaves on top to balance the visual contrast of white coconut flakes.
Your finished cake should look like a frosty globe—a centerpiece worthy of any celebration table.
—
Alternative Methods
Variety keeps baking interesting. If you want to customize your coconut snowball experience, here are a few delightful variations to consider.
Gluten-Free Version
Substitute all-purpose flour with a 1:1 gluten-free baking blend. Ensure your baking powder and cornstarch are certified gluten-free. Coconut flour can also be used for a denser, more fragrant texture, but you’ll need additional liquid to maintain moisture.
Vegan Delight
Replace butter with coconut oil, eggs with flaxseed gel (1 tablespoon flaxseed + 3 tablespoons water per egg), and dairy products with coconut cream. This version remains just as rich, with that signature creamy mouthfeel.
Mini Snowball Cupcakes
Instead of making a full cake, divide the batter into cupcake tins. Once baked and cooled, fill the centers with raspberry jam and coat each with frosting and coconut flakes for adorable, single-serving delights.
Chocolate Variation
For an exotic twist, add a thin layer of chocolate ganache beneath the raspberry filling. The dark cocoa flavor beautifully offsets the tropical coconut notes and fruity tang of raspberries.
—
Conclusion
The Raspberry Surprise Coconut Snowball Cake is more than just a dessert—it’s a sensory experience that captures sweetness, freshness, and nostalgic comfort all in one. Its luscious layers, vibrant raspberry core, and snowy coconut exterior make it both visually stunning and undeniably satisfying. Whether you serve it during the holidays, bring it to a summer party, or enjoy it as a weekend baking project, this cake proves that small surprises lead to the biggest smiles.
Mastering this recipe allows you to experiment freely—swapping fruits, adjusting cream textures, or turning it into smaller versions for gifting. Once you’ve tasted this blend of tropical and berry goodness, you’ll understand why it’s become a favorite among modern home bakers.
Let your creativity shine through as you bake, and remember—beautiful desserts aren’t just about the recipe; they’re about the joy you share with every slice.